Difference between revisions of "Battery removal"
Papa Smurf (talk | contribs) (A step by step tutorial to remove the battery for carry on lugagge) |
m |
||
| (8 intermediate revisions by 2 users not shown) | |||
| Line 1: | Line 1: | ||
Here is what I found to be the most secure way of air travel with the OW. Remarks at the end. | |||
This guide applies to both the original Onewheel and Onewheel+. | |||
Credit: [https://www.facebook.com/photo.php?fbid=1491880914217627&set=pcb.1885567418398486&type=3&theater&ifg=1 Renato R.] | |||
[[File:Onewheel_Battery_Removal_01.png|600px]] | |||
Begin by removing the rear foot plate above the battery. | |||
[[File:Onewheel_Battery_Removal_02.png|600px]] | |||
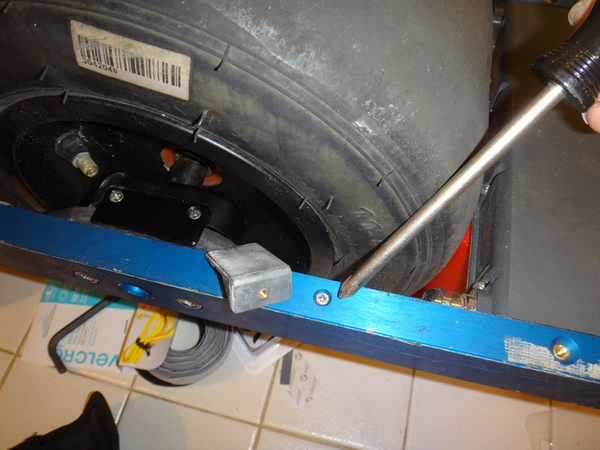
Then the bumper. | |||
[[File:Onewheel_Battery_Removal_03.png|600px]] | |||
Remove both cable retainers. | |||
[[File:Onewheel_Battery_Removal_04.png|600px]] | |||
Remove the connectors cover. | |||
[[File:Onewheel_Battery_Removal_05.png|600px]] | |||
Unlock the battery cable connector. | |||
[[File:Onewheel_Battery_Removal_06.png|600px]] | |||
Its the white tab, then press down the small black one and pull the whole connector. Do not touch the other connectors. | |||
If you do not press down the small black lid while pulling the connector, you will brake it. If you do, don't panic, just find the broken piece and throw it away, its pretty useless for us. | |||
[[File:Onewheel_Battery_Removal_07.png|600px]] | |||
No description | |||
[[File:Onewheel_Battery_Removal_08.png|600px]] | |||
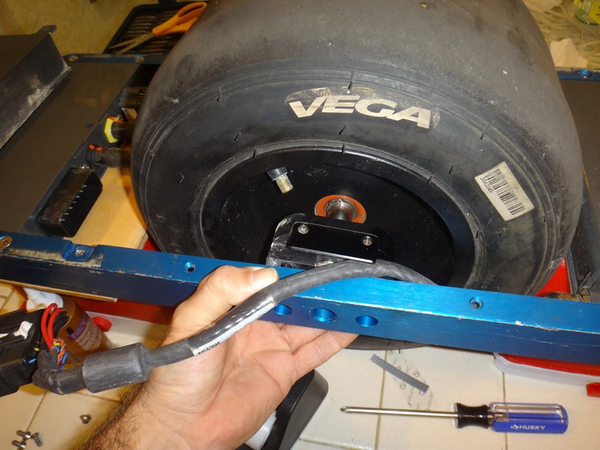
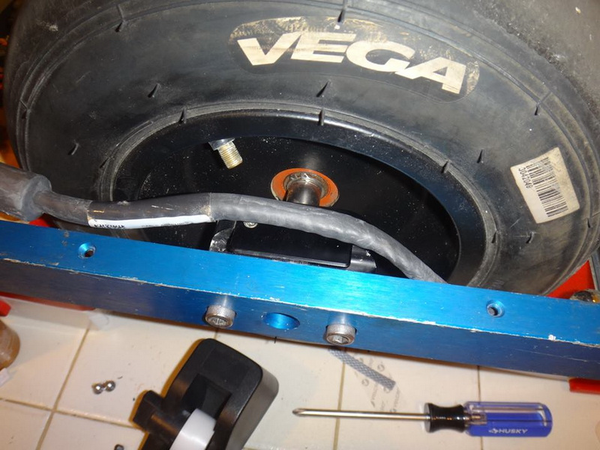
Remove the two wheel screws from both rails. | |||
[[File:Onewheel_Battery_Removal_09.png|600px]] | |||
And free the cable out of it. | |||
[[File:Onewheel_Battery_Removal_10.png|600px]] | |||
No description | |||
[[File:Onewheel_Battery_Removal_11.png|600px]] | |||
No description | |||
[[File:Onewheel_Battery_Removal_12.png|600px]] | |||
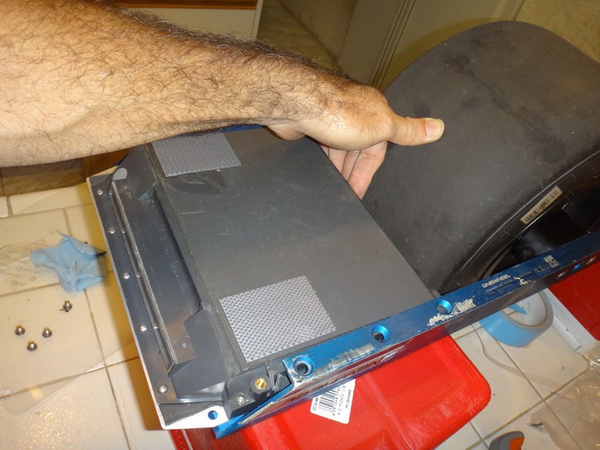
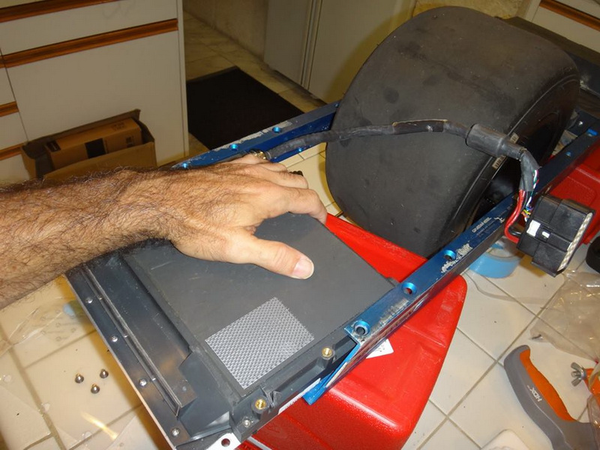
Slide the battery out. | |||
[[File:Onewheel_Battery_Removal_13.png|600px]] | |||
No description | |||
[[File:Onewheel_Battery_Removal_14.png|600px]] | |||
Cover the connector with duct tape or electrical tape. I recommend you buy a [http://amzn.to/2C28IZJ Lithium battery pouch]. The battery MUST be on Carry On luggage. | |||
[[File:Onewheel_Battery_Removal_15.png|600px]] | |||
Replace the wheel and tighten the screws. | |||
[[File:Onewheel_Battery_Removal_16.png|600px]] | |||
There are two sizes on the original OW, long on top, short on bottom. On the OW+, small screws are for underside of rails, medium screws are for top of footpad, and long screws are for the skid plates. | |||
[[File:Onewheel_Battery_Removal_17.png|600px]] | |||
Don't forget to pack the tools needed to reassemble the battery! | |||
REMARKS: | |||
# Don't mention anything about the purpose of the battery. | |||
# Print and take the second page of this PDF on you carry on luggage: [https://www.faa.gov/about/office_org/headquarters_offices/ash/ash_programs/hazmat/passenger_info/media/Airline_passengers_and_batteries.pdf FAA - Batteries Carried by Airline Passengers] | |||
# Place a printed page together with the board stating that the battery has been removed and shipped separately. | |||
Latest revision as of 21:19, 4 February 2018
Here is what I found to be the most secure way of air travel with the OW. Remarks at the end.
This guide applies to both the original Onewheel and Onewheel+.
Credit: Renato R.
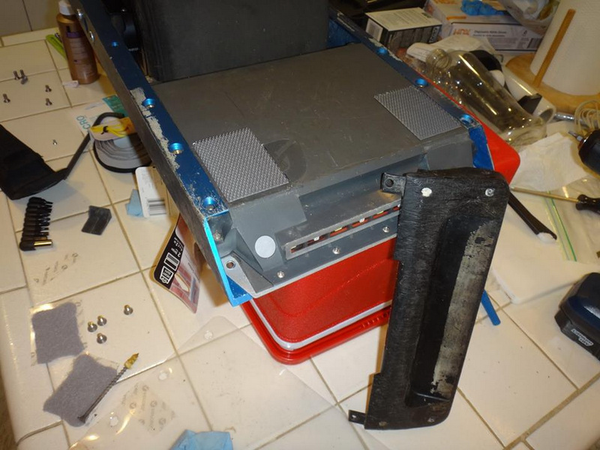
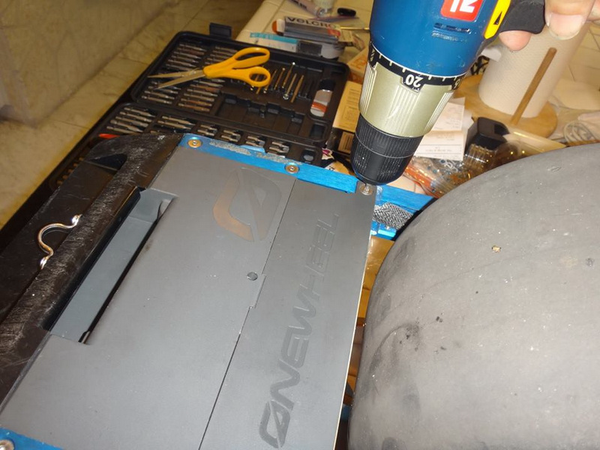
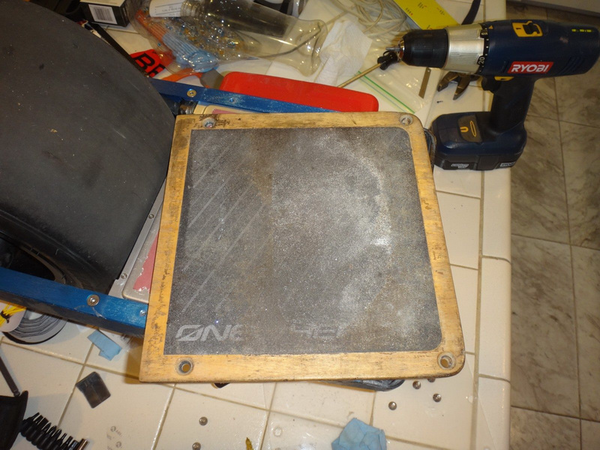 Begin by removing the rear foot plate above the battery.
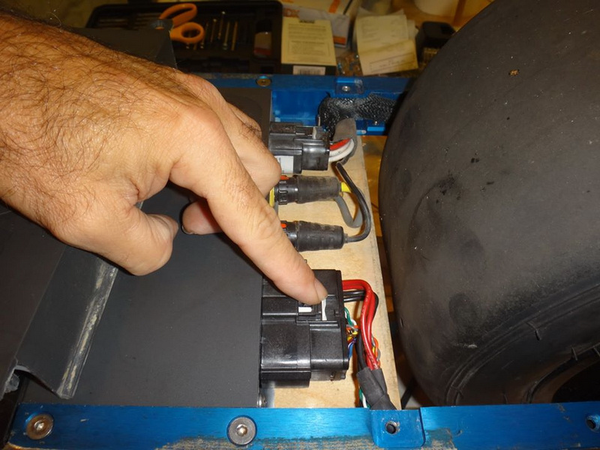 Unlock the battery cable connector.
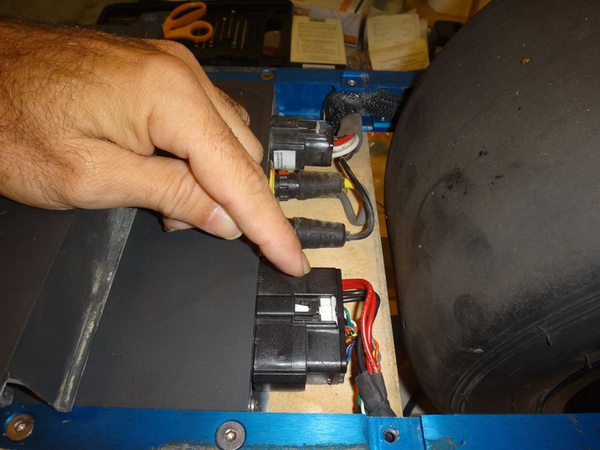 Its the white tab, then press down the small black one and pull the whole connector. Do not touch the other connectors.
If you do not press down the small black lid while pulling the connector, you will brake it. If you do, don't panic, just find the broken piece and throw it away, its pretty useless for us.
File:Onewheel Battery Removal 07.png No description
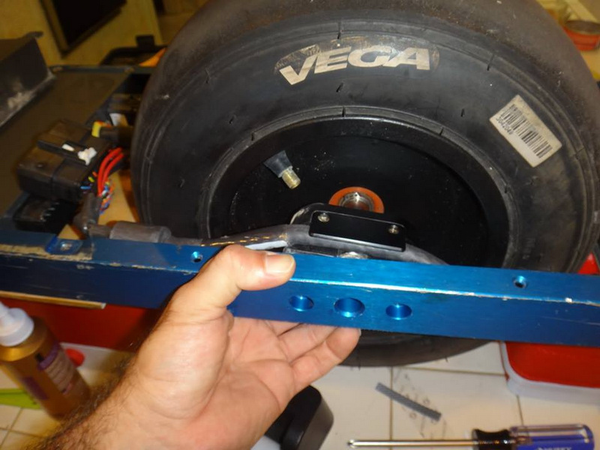
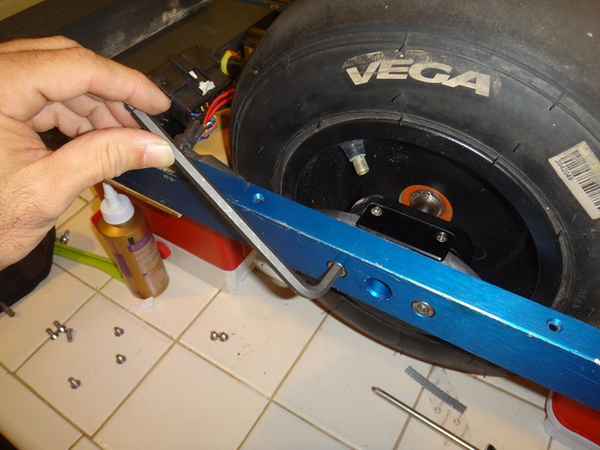 Remove the two wheel screws from both rails.
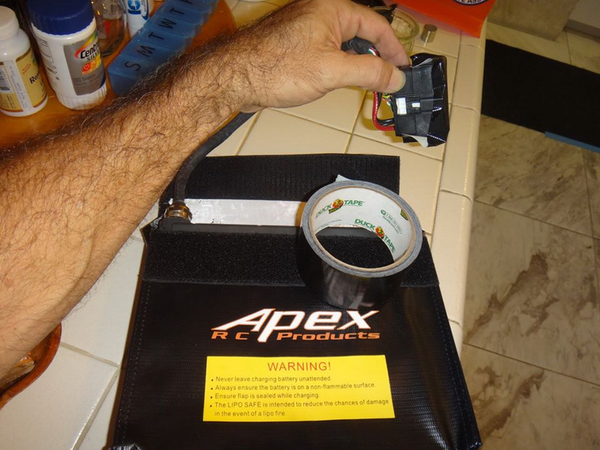 Cover the connector with duct tape or electrical tape. I recommend you buy a Lithium battery pouch. The battery MUST be on Carry On luggage.
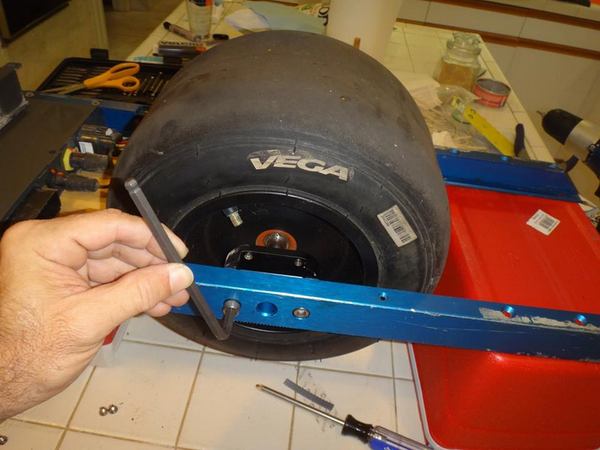 Replace the wheel and tighten the screws.
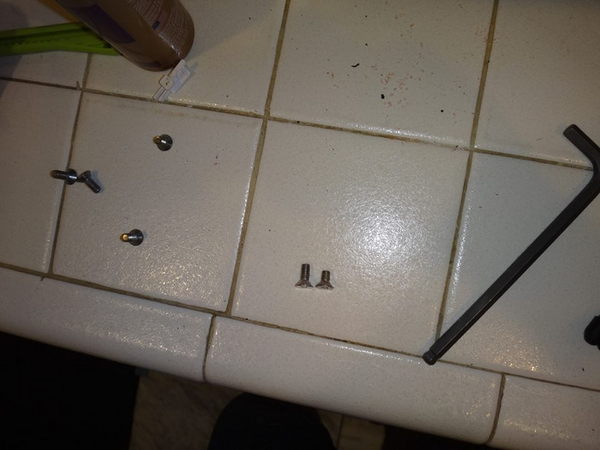 There are two sizes on the original OW, long on top, short on bottom. On the OW+, small screws are for underside of rails, medium screws are for top of footpad, and long screws are for the skid plates.
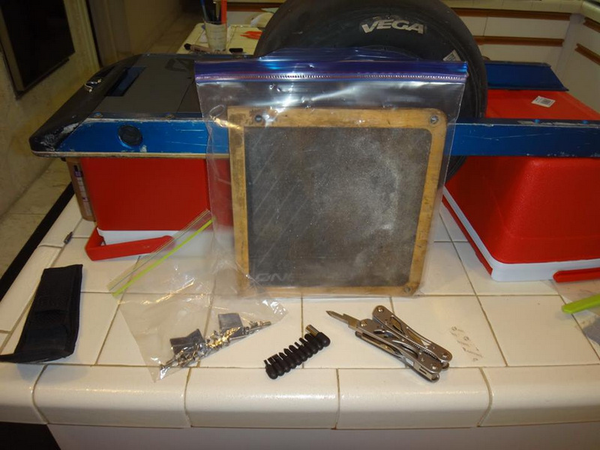 Don't forget to pack the tools needed to reassemble the battery!
REMARKS:
- Don't mention anything about the purpose of the battery.
- Print and take the second page of this PDF on you carry on luggage: FAA - Batteries Carried by Airline Passengers
- Place a printed page together with the board stating that the battery has been removed and shipped separately.

