Charging on-the-go
Use at your own risk. I am not responsible if you break your Onewheel, injure yourself, someone else, or burn your house down.
Overview of options
You have to choose what’s most important to you. Every option has tradeoffs on price, weight, capacity, and safety.
| Option | Pros | Cons |
|---|---|---|
| DC battery pack (e.g. solar charger) |
|
|
| AC battery pack (e.g. Chafon) |
|
|
| Car inverter |
|
|
Onewheel specs
- Charger output: 58V 3.5A
- Charger capacity: 130Wh
- Wattage required to charge: 250-300W
Commercial Solutions
DC Battery Pack
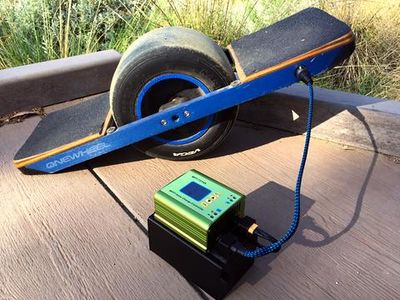 DC Charger from Carvepower- https://carvepower.com/products/dc-charger-for-onewheel
This charger uses a 36v 4.4ah hoverboard battery to charge the Onewheel. A solar charge controller boosts the output of the battery to the 58V 3.5A required by the Onewheel. One battery provides one charge, and the Onewheel wall charger is not necessary. A separate AC charger is provided to recharge the portable battery. The controller is attached to a mount which slides on to the battery case, making it easy to switch between multiple batteries. The total weight of the controller and one battery is 4lbs.
The battery itself is not included in the kit, but can be purchased separately. Currently the best price available is from this EBay seller- http://www.ebay.com/itm/NEW-SAMSUNG-18650-36V-4-4AH-BATTERY-EBIKE-VAPE-POWERWALL-BATTERIES-20-CELLS-BMS-/201895735309?epid=1621923126&hash=item2f01ec700d:g:Mh8AAOSwSypY9Y7d
Carvepower DC Charger instructions- https://www.dropbox.com/s/hkt86dyslpq5cyb/DC%20Charger%20Instructions.pdf?dl=0
AC battery pack
The idea is to use an AC battery pack with the standard Onewheel charger.
| Option | Pros | Cons |
|---|---|---|
| Chafon CF-UPS008 $290 for 2 charges (288Wh) |
|
|
|
igoeshopping |
|
|
|
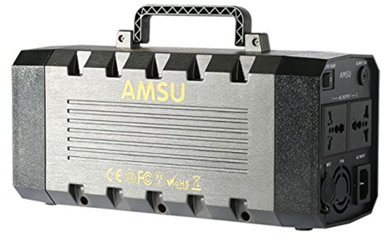
AMSU |
|
|
DIY DC battery pack
The idea is to use a solar charge controller to upconvert a portable battery’s voltage to the 58V that the Onewheel expects. The solar charge controller is typically used to charge a battery via a solar panel. However in this case, your portable battery takes place of the solar panel and your Onewheel is the battery you’re charging.
Make sure you protect your battery with something soft in case you wipeout while riding. I suggest packing foam.
Step 1: choose a battery and charger
| Battery options | Specs | Pros | Cons |
|---|---|---|---|
| 36V 12.5Ah Lithium Scooter battery | $209 for 3.5 charges (450Wh) @ 5lbs |
|
|
| 36V 4.4ah Lithium batteries from eBay | $60 for ~1 charge (158Wh) |
|
|
| LiFePO4 | $35 for ½ charge (42Wh?) @ 1lb |
|
|
| 52V Mighty Mini | $230 for 2.5 charges (300Wh) @ 3.3lb |
|
|
| Lithium battery from Jet.com | $129 for ~1 charge (158Wh) @ 2.6lbs |
|
|
| 36V LiGo | $150 for <1 charge (98Wh) @ 1.3lbs |
|
|
You also need a way to charge your portable battery.
| Charger options | Pros | Cons |
|---|---|---|
| LunaCycle charger |
|
|
| AC → DC charger |
|
|
| LiFePO4 charger |
|
To be safe, buy a battery pouch and only charge when you’re near the charger and awake.
Step 2: buy the other parts
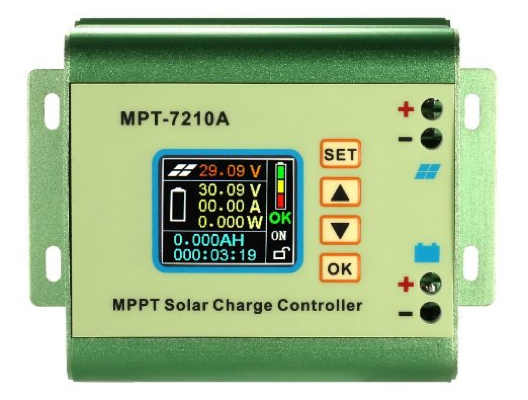
- Solar charge controller - $40
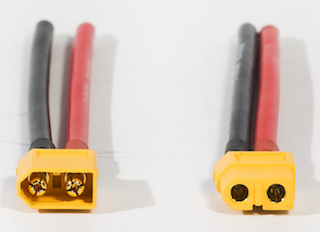
- 2x XT60 pigtails - $3 each
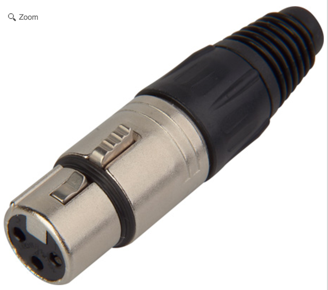
- XLR plug - $3
Step 3: configure the solar charge controller
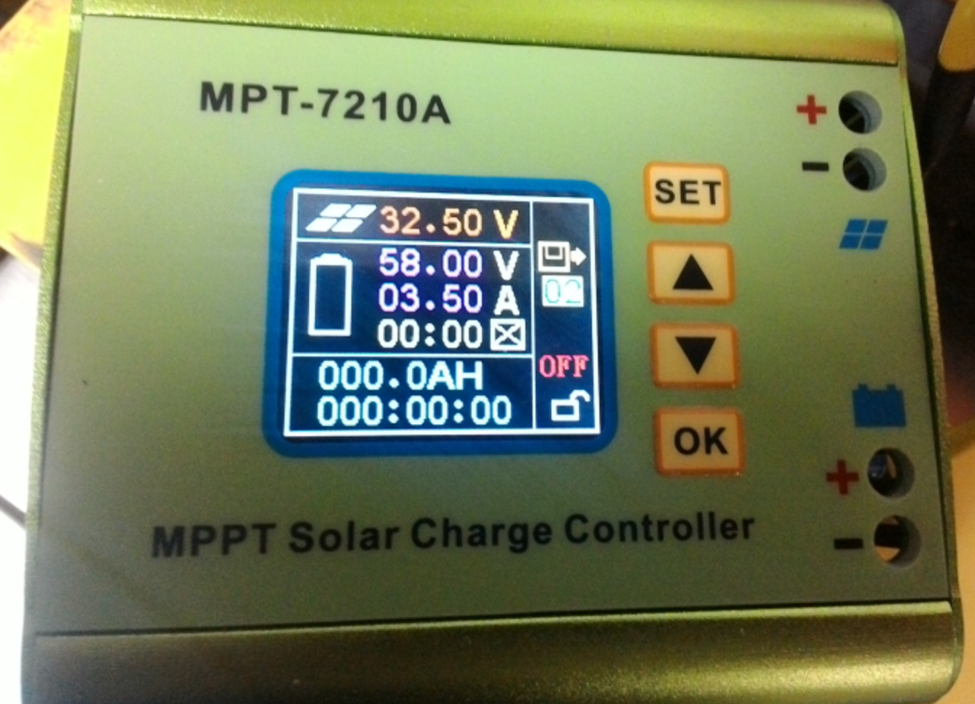
The output of the solar charge controller must match the output of the Onewheel charger. Your settings should look something like the photo below.
The critical settings are the 58V and 3.5A. Set the first line (where it says 32.5V) to the minimum voltage of your battery. 32V is generally a safe setting for a 36V-rated battery.
Remember! The battery pack should be on the solar panel label and OW on the battery label on the solar charge controller.
The manual can be found here.
Step 4: solder the wires to the XLR plug
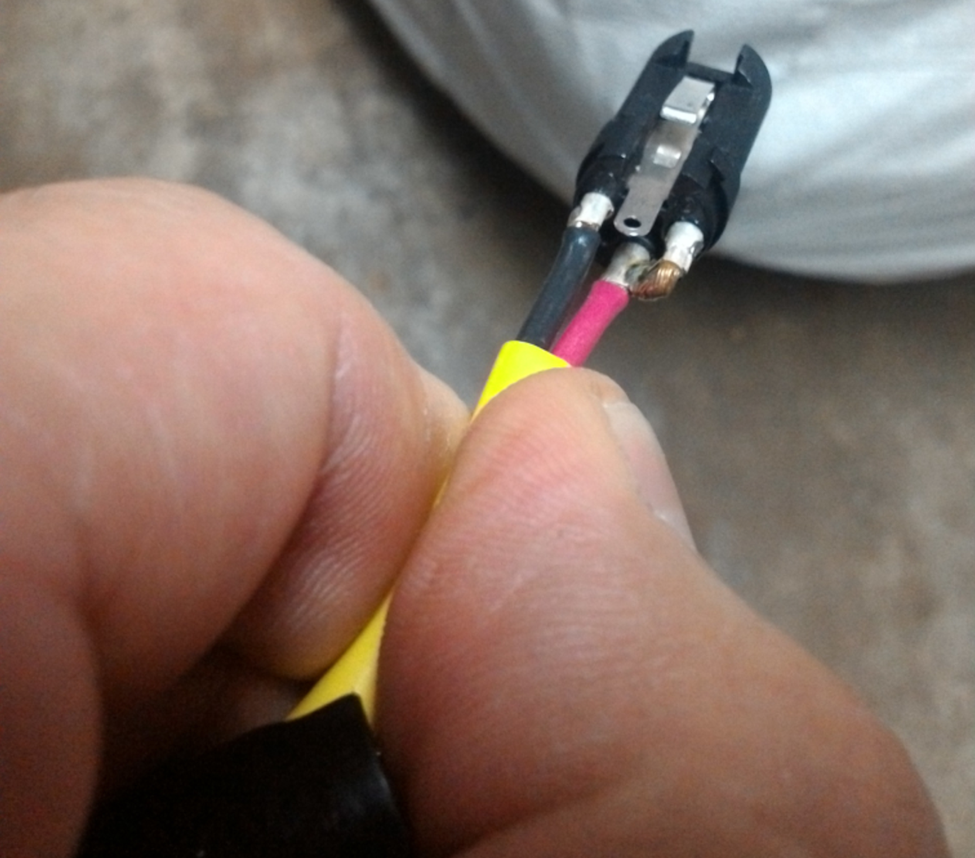
The Onewheel’s XLR plug requires a different wiring than the off-the-shelf XLR plugs. Unfortunately, that means you have to do some soldering.
Below is the correct configuration. Notice the positive wire is connected to *both* pins 2 and 3 of the XLR plug. If you want to verify this yourself, you can easily open the Onewheel charger’s XLR plug.
Step 5: hook it all up!
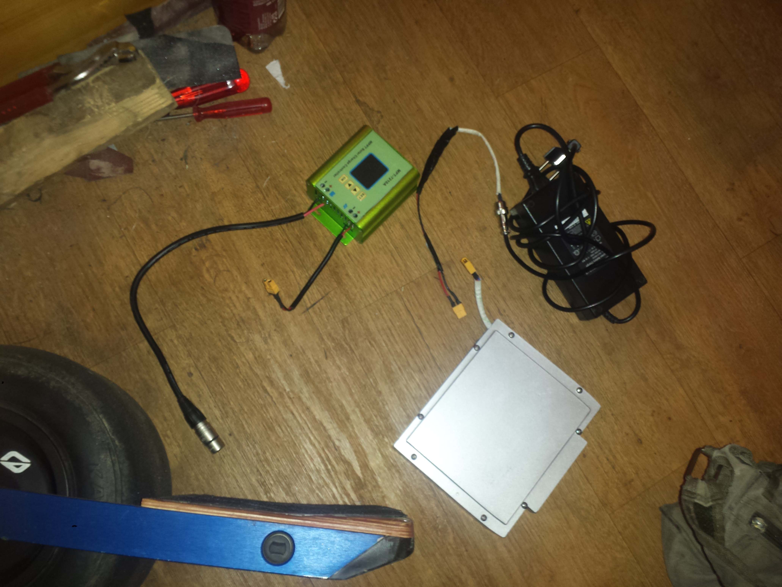
Portable battery → male XT60 pigtail → solar charge converter → female XT60 pigtail → male XT60 pigtail → soldered XLR plug → (wait until voltage reaches 58V before plugging in!) Onewheel
Sometimes the OW does not go into its charge mode automatically. Simply press the power button in this case.
When you’re done charging, I suggest turning off the solar charge converter first before unplugging anything. Then disconnect the battery. Then unplug from Onewheel.
Charging Onewheel to 100% is safe. You’ll see the amps ramp down on the solar charge converter display as you enter “trickle charge” mode. But you’ll want to disconnect soon or it’ll just slowly drain your battery.

